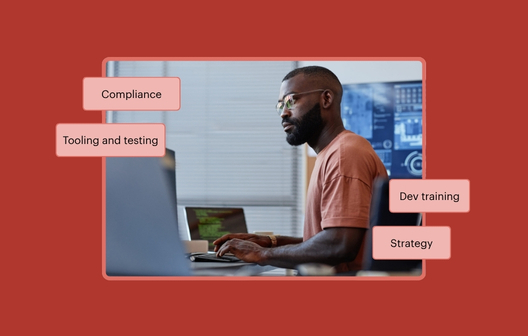
Self-sufficiency is the name of the game. We want developers to drive successful accessibility practices in large organizations and that’s part of what inspired us to create the WorldSpace Attest family of web development tools. We wanted to empower developers to be self-sufficient.
Powered by our popular axe-core rules engine, Attest offers various integration tools for Node.js, Selenium Webdriver, Ruby, browser JavaScript, and more, allowing developers to choose what works best for them. With easy reporting and data export plus a handy browser extension, multiple members of a team can collaborate on accessibility development and achieve consistent test results across the organization.
In this post, I’m going to show you how Attest components put a team focus on accessibility testing early on in the software development lifecycle, making it sustainable and pragmatic.
Why WorldSpace Attest?
Manual audits by subject matter experts are an important part of accessibility remediation for businesses: knowledge from people who know accessibility well can be captured as a bug fix roadmap for development and QA teams.
But, 40% of accessibility issues can be addressed using automated tools before a manual tester even sees them, saving a significant amount of effort in issue reporting, tracking, triaging and validating. Our hope is that over time, developers can leverage automated tools to find low-hanging accessibility bugs on their own, freeing up subject matter experts for more complex things requiring a human to review.
I’m reminded of that old adage: “give a man a fish, feed him for a day; teach a man to fish, feed him for a lifetime.” By making accessibility an integral part of the software development process and owning it in-house (with help from a few tools), organizations can identify their own issues much faster and achieve consistent results with the staff they already have.
WorldSpace Attest is different from our more basic open source tools because of its number of sophisticated integrations and custom rule support, not to mention the technical guidance provided by the Deque team. It combines the best of both worlds–automated test APIs bottling up years of accessibility expertise, plus customized support from the team that built them. For large-scale organizations, Attest can help your team get up and running with sustainable accessibility success in no time.
Developer Workflow
Attest is a great tool for automating accessibility tests with custom rules that are pretty common in large organizations. To demonstrate how it works, I’ll walk you through a typical front-end integration testing workflow, paying extra attention to Attest’s first-class support for custom rules. I’ll show you the same custom rules functioning in the Attest browser extension (formerly known as FireEyes II), available with a WorldSpace Attest or WorldSpace Comply license. Having multiple tools at your disposal with the same underlying rule set means that you can test a custom accessibility standard manually or in an automated environment–unifying standards across multiple disciplines.
It’s worth mentioning that automated tests catch roughly 30% of issues related to Success Criteria (depending on your rule set), and 50% of total issues by volume–so they don’t eliminate the need for manual testing. But that 30-50% can mark incredible progress with minimal effort. Automated tests can also programmatically prevent accessibility regressions from making it to production–a huge benefit for high-risk deployments and large teams.
Step 1: Get Access to the Tools
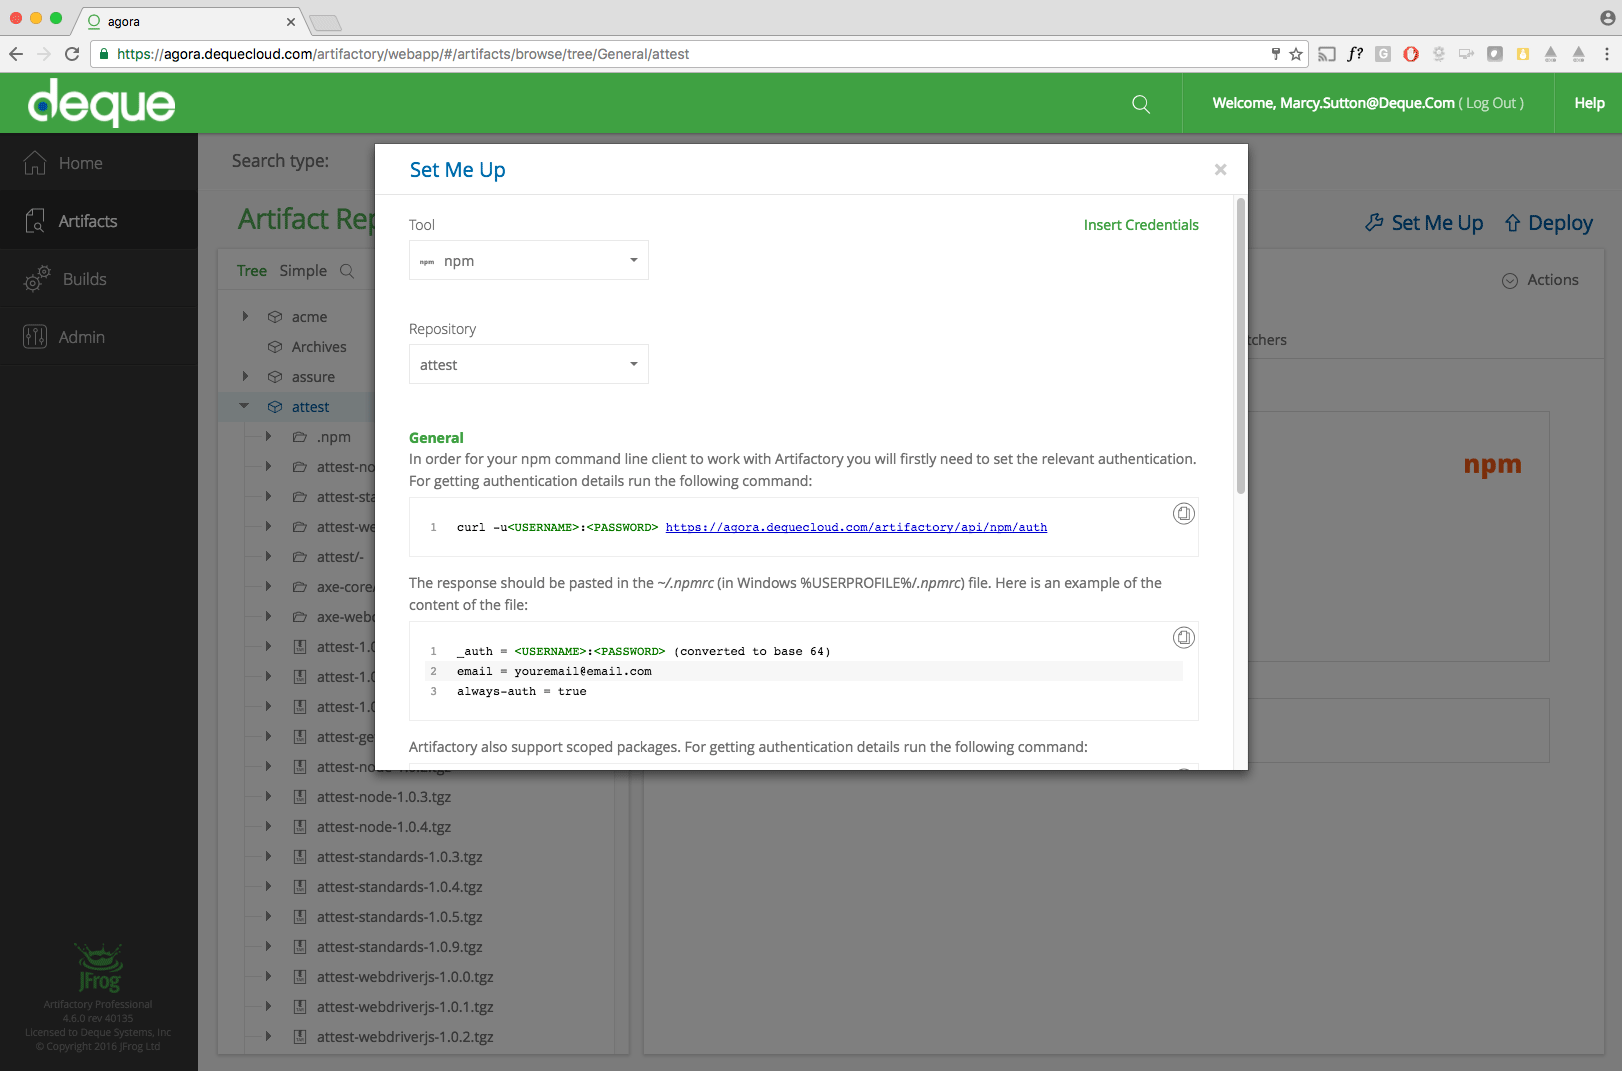
WorldSpace Attest modules live in a third-party npm registry powered by Artifactory–our instance goes by the name of Agora. Upon licensing WorldSpace Attest, a Deque administrator will grant access to your team. You can then enable authentication through an .npmrc file that will make command-line installs possible on your machine.
Step 2: Install Dependencies
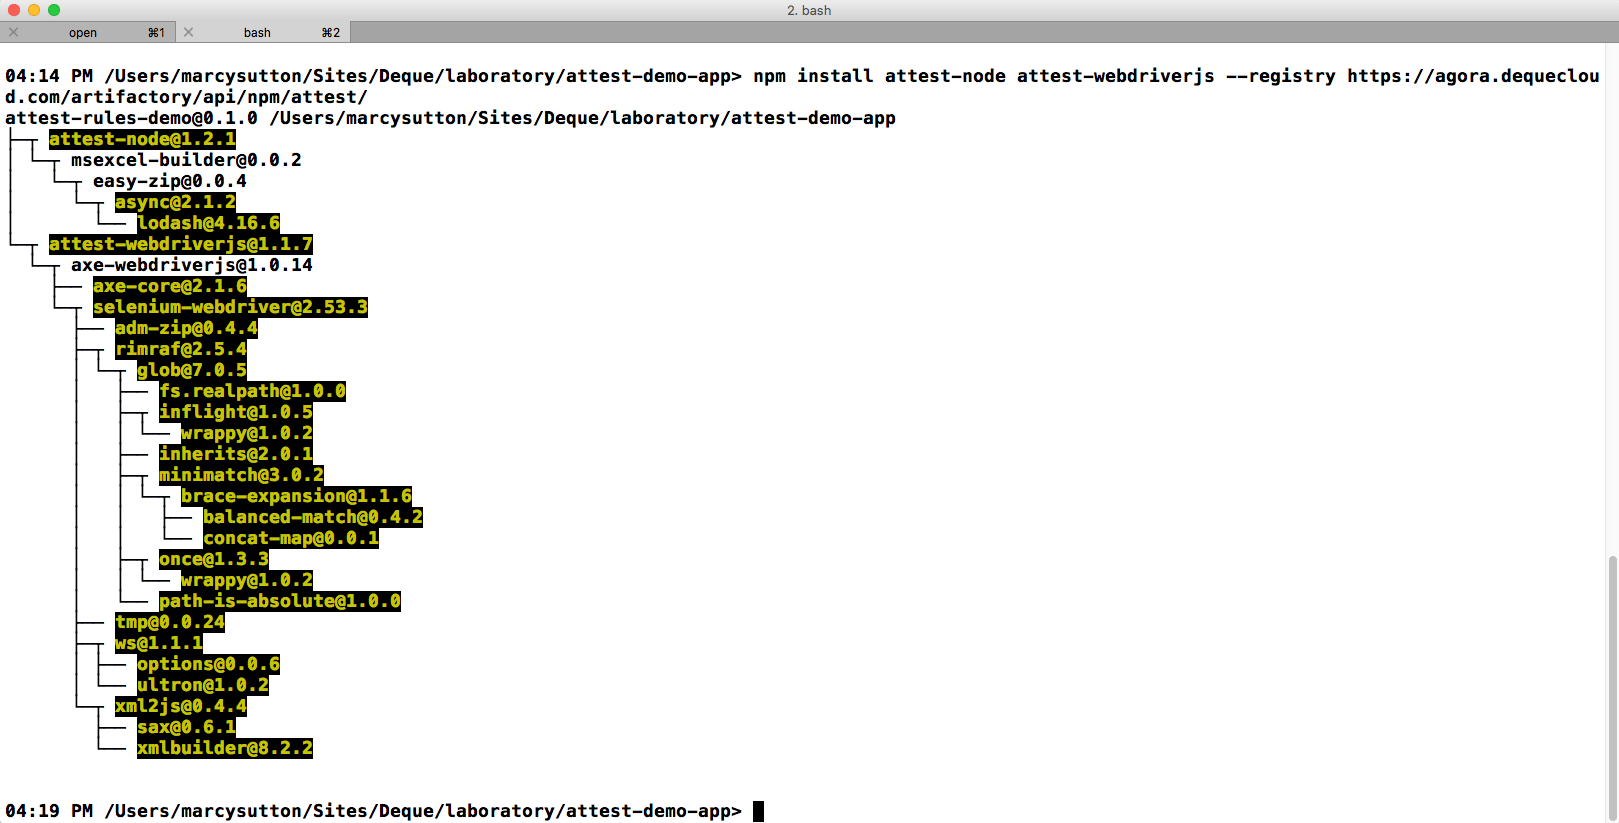
With valid Agora credentials and .npmrc filled out, you can install Attest-Node and Attest-Webdriverjs in your project. If you don’t already have npm dependencies, you can initialize your project with npm init.
Install Attest-Node and Attest-Webdriverjs from the registry:
npm install -g attest-node
npm install attest-webdriverjs
Attest-Node is most helpful when installed globally, but that part is optional.
You’ll also need to install a few testing dependencies, including Selenium Webdriver, Mocha and Chai:
npm install selenium-webdriver mocha chai --save-dev
Step 3: Add a Custom Rule
Custom rules in WorldSpace Attest
Custom rules in Attest follow the same JSON format used in the open source axe-core project. The structure requires a rules array containing objects that match relevant DOM nodes and describe what the rule does, plus a checks array with objects representing sub-tests for evaluating parts of a rule. Having rules and checks as separate structures makes it possible for sub-tests to be used in multiple rules.
As an example, I’ll use a JSON file with a custom rule that flags <p> elements used as headings. To install it, we have two options:
- Put an entry for
$ATTEST_PATHin.bash_profilethat points to a valid.jsonrule configuration. (Restart your command-line client for this method to take effect.) - Put an
attest.jsonrule configuration file at the root of the project.
The former option is good for using the same rule configuration across multiple projects, while the latter option is a quicker way to get started. Attest-Node and Attest-webdriver will work together to configure the custom rule and make it available to our integration test seamlessly. As long as the custom rule matches a node with a relevant accessibility violation, it will appear in our audit results.
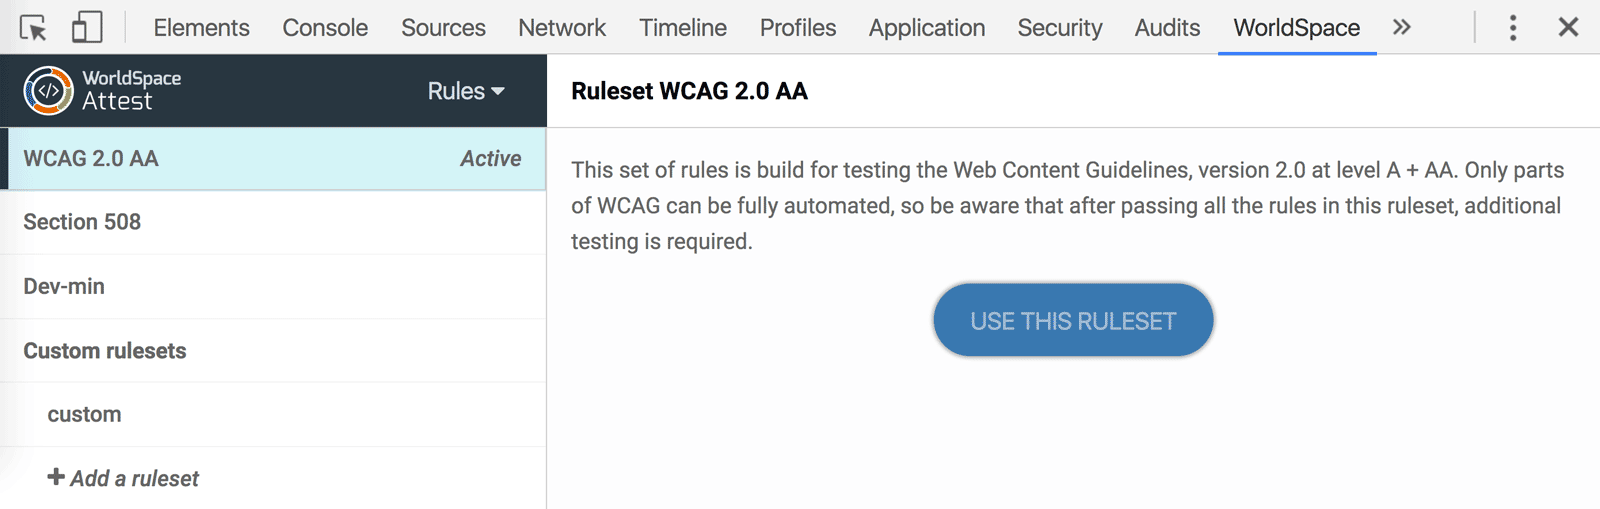
Custom Rules in WorldSpace Attest DevTools
To analyze pages with the custom rule in the WorldSpace Attest developer extension (formerly known as FireEyes II), you have two options:
- Use WorldSpace Comply to deliver the rule from the server.
- Enable a custom rules tab in the extension preferences to paste JSON rule content and optionally upload it to WorldSpace Comply.
To enable a custom rule from within the older FireEyes II Firefox extension, visit about://addons and enable “Allow Custom Rules” in the FireEyes extension preferences. You will then be able to paste in the contents of the custom rule JSON file into the extension UI. For more information, check out the related FireEyes II documentation on Deque University (requires login).
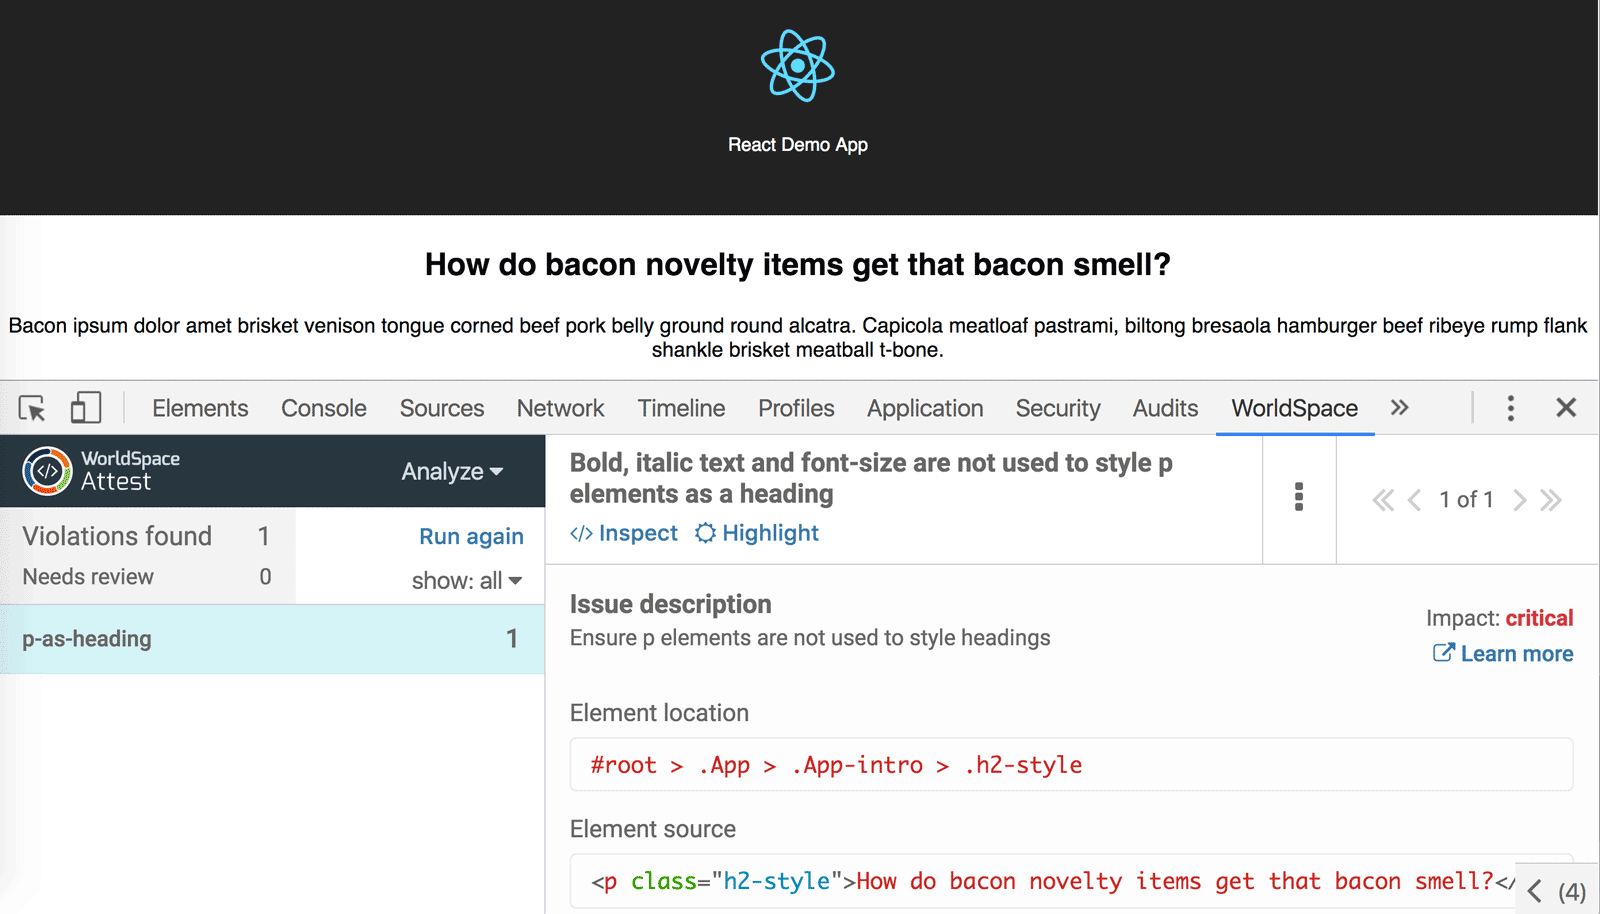
Once the custom rule is enabled, running an analysis in the browser will yield the same results as our integration test:
Step 4: Write an integration test
Integration tests in Attest-webdriverjs are similar to our open source module axe-webdriverjs, except only Attest comes with built-in reporting, helpful for sharing test results with teams. Attest also makes it easier to manage custom rules in multiple projects, given the option to store them in a single file linked through a PATH environment variable. If your custom ruleset needs to be modified, you can update the single source of truth on your development machine instead of reconfiguring every single project that needs it.
Here’s a sample JavaScript test that pulls in dependencies, sets up Webdriver to run in Google Chrome and asserts there are 0 accessibility violations for a given localhost page:
const WebDriver = require('selenium-webdriver'),
     AttestBuilder = require('attest-webdriverjs'),
     attest = require('attest-node')();

const assert = require('assert');

var util = require('util');

describe('Attest demo', function() {

	this.timeout(10000);

	let driver;
	let serverUrl = 'localhost:3000',
	    dqReporter = attest.report(serverUrl, './a11y-results');

	beforeEach(function(done) {
		driver = new WebDriver.Builder()
		 .forBrowser('chrome')
		 .build();
		done();
	});

	afterEach(function(done) {
		driver.quit().then(function() {
			done();
		});
	});

	it('should find no accessibility violations', function(done) {

		driver
		  .get(serverUrl)
		  .then(function () {
		    new AttestBuilder(driver)
		      .analyze(function (results) {
				dqReporter.logTestResult('about', results);
		        assert.equal(results.violations.length, 0);
		        done();
		      });
		  });
	});
});
Step 5: Fix any defects
The JSON results logged using the dqReporter can be converted to a human-readable report, using the attest-report CLI in Attest-Node:
$ attest-report ./a11y-results --dest ./a11y-reports --format html+junit
This command will output HTML and JUnit reports to a new a11y-reports directory. Upon opening the HTML version in a browser, we can see the results in a nicely designed format rather than poring over raw JSON:
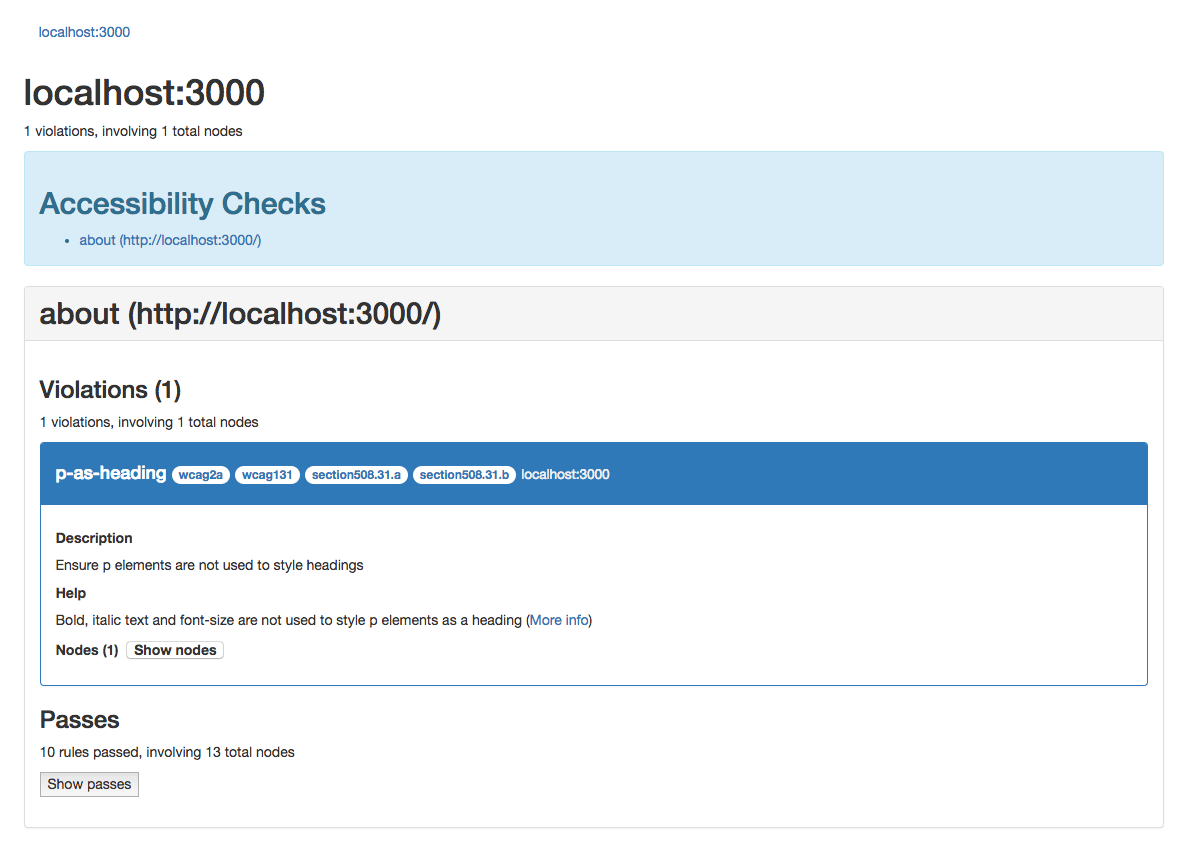
Using this information, developers can verify which element(s) caused the violation and iterate on fixes. The results can also be shared with the development organization for tracking purposes. In the case of our p-as-heading test, changing the offending paragraph to an h1-h6 heading will make the test pass.
Request a Demo
With WorldSpace Attest, development teams can take charge of their own accessibility testing rather than waiting for feedback from QA or a third-party review team. Having a variety of tools available for different team members can help make it a collaborative effort, ensuring the responsibility isn’t placed on any one person. Ultimately, that means you’re creating an environment where accessibility can scale along with your organization.
To learn more about WorldSpace Attest, get in touch with us for a hands-on demo.