 Maybe this scenario sounds familiar: You’re working on your iOS application, dabbling with Accessibility. You know a little bit about how to use VoiceOver and you’re taking a quick look at your app to make sure it’s accessible. Suddenly you notice a button in the corner. The button is disabled unless a user fills out a certain text field. You think to yourself:
Ugh. I should hide that from VoiceOver when it’s disabled. But how do I do that?
After a little Googling you find the isAccessibilityElement property. You think:
Cool, I can just set isAccessibilityElement to NO and move on. Problem solved!
Except it isn’t. If you thought that was a little too easy, well, you’re right. But unfortunately I’ve read more than one Stack Overflow post that followed this exact line of thinking. It might seem like a reasonably easy fix, but it’s just a bit more involved. That’s what I’m going to cover in this post – in detail – so you’ll be able to handle whatever issues come up. You’ll also understand why simply setting the accessibility element to NO isn’t the right approach. Here’s what I’ll go over:
- What the isAccessibilityElement property actually does.
- Scenarios when it’s necessary to override this property.
- An interesting issue involving nesting accessibility elements.
You can find examples of the concepts discussed in this post (and much more) in our open source iOS application Deque University for iOS.
Accessibility Elements
When you’re implementing accessibility there are a few different properties iOS gives you access to. The isAccessibilityElement property is one of the most important. It’s really easy to go wrong with this property, and in turn break the accessibility of your application. And I’m not just talking about causing minor issues, I mean complete catastrophic failure. And that’s not an exaggeration!
The isAccessibilityElement property allows you to control the information that iOS communicates between your application and VoiceOver. Now VoiceOver itself runs on a separate process from your application. So VoiceOver doesn’t have access to the actual UIView objects you’ve created. Instead, iOS sends a simplified set of information that’s comprised of the information iOS highlights as important for accessibility purposes.
isAccessibilityElement = YES
Let’s assume that isAccessibilityElement is set to YES. This is the default value for any control that presents information (think UIButton, UIImageView, UILabel, etc). There are two ways a user can use VoiceOver to interact with these kinds of elements. The first is by hovering over any pixel within the bounds of the element. The other way is to swipe right or left across the screen rapidly, which will cause VoiceOver to highlight Accessibility Elements in order, just like hitting tab on a keyboard. Once an element is highlighted, VoiceOver will go through its process of announcing the label and read off any trait information. Then, after a pause, it’ll read out the hint.
isAccessibilityElement = NO
If this property is set to NO VoiceOver will treat the element like it’s not there at all. If a user swipes their finger over the element it won’t be highlighted. If you’re using gesture-based navigation the element will be skipped over completely. And it doesn’t even matter what traits the element has, or how detailed the label you’ve given it. Setting this property to NO means that VoiceOver will ignore it completely! This is the default behavior for base UIView elements, custom controls that inherit straight from UIView, and other view elements that act as collections for other child elements.
So you’re probably wondering….now what?
Overriding isAccessibilityElement
In general the default values of this property are accurate. Unless you’re an accessibility expert versed in the nuance of WCAG 2.0 it’s probably safest just to let iOS do it’s thing. That said, there are scenarios when it’s necessary to override this value. In fact, things can get really messed up if you don’t. Below are some scenarios that should help clarify things.
From YES to NO: Important Points to Consider
Considering overriding this property when the default value is YES? Well, you might be thinking about it the wrong way. Let’s go back to our example in the introduction of this post. The person working on the app is trying to be considerate of blind users, and hide some information that the developer doesn’t view as important. The button is disabled. So why would a blind user care about a disabled button?
There are two issues with this logic:
1) Not all VoiceOver users are completely blind. When considering what values accessibility properties should have, it’s important to remember that you are not just concerned about blind VoiceOver users, but also those who have limited vision. And what about keyboard users? What about users of braille boards or other Assistive Technologies? By hiding this information from VoiceOver you’re not only hiding it from gesture navigation, but any sighted users who have trouble reading the text of your elements will be confused as to why they can’t highlight your control.
2) Even if a button is disabled, it might still be presenting information. In fact, you could argue that a disabled button presents MORE information than an enabled one. When you see a disabled button on a page what do you think?
Huh, there’s a control that doesn’t matter and that I’ll never use.
Or
Hey, what do I need to do to enable that control?
Clearly you can glean quite a bit of information from a disabled control. In reality, a disabled control on a view can tell a story all its own.
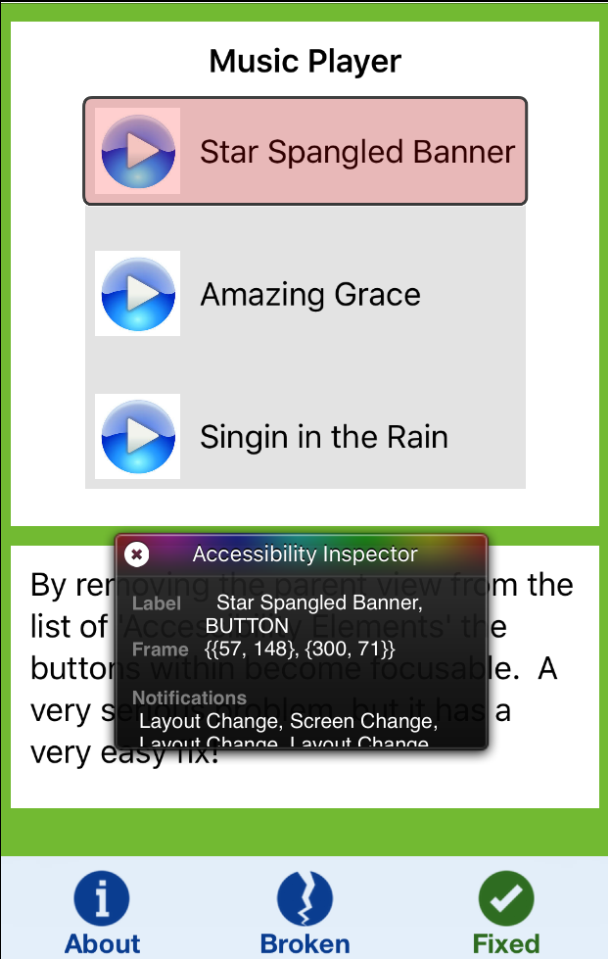
The scenarios where you would need to override this property to NO are a bit more subtle. The best example I can think of is an improperly configured modal dialogue. If you set up your modal dialogue correctly, you shouldn’t be able to interact with the elements behind the dialogue. Before the user is able to continue navigating your app, they need to address the modal dialogue.
Even if all the user has to do is click “OK,” the action must still be completed BEFORE any other interaction occurs. That means that getting rid of the iOS mechanisms for easy, correct set up or opting for some modal dialogue framework that does manual view drawing might cause problems. You might, for example, discover that the “overlay” that’s used to block user interaction hasn’t blocked VoiceOver from focusing those views. This is an especially common problem when you’re considering swipe navigation. In this scenario I would highly recommended that you go through and mark all elements in your main view as NOT accessibility elements. Just be sure to remember to set them all back to YES when your modal has been dismissed!
From NO to YES: A Simpler Approach
The scenarios where you override isAccessibilityElement to YES are much simpler. If you set up a custom control that only inherits from UIView but doesn’t inherit from its corresponding iOS base control. you may need to override this property. If your component presents information to the user or accepts input from the user, it needs to be an accessibility element (exceptions for the scenario above). There is also one other time when overriding this to YES is appropriate, and that is when a an element is acting as a container for other accessibility elements, and it makes sense for these elements to be grouped into one element. Though, this scenario needs to be handled VERY carefully.
Nested Accessibility Elements
When you’re considering the proper value for the isAccessibilityElement property, it’s very important to note the effect of nesting accessibility elements within other accessibility elements. Let’s take a look at an example. For this example, let’s assume that some styling has been done, perhaps our childView is a button and our parentView is our main view.
[code language=”objc”]
childView.accessibilityLabel = @"I’m the child";
childView.isAccessibilityElement = YES;
parentView.accessibilityLabel = @"I’m the parent";
parentView.isAccessibilityElement = YES;
[parentView addSubview:childView];
[/code]
Here you’ll notice that both the parent and child elements are accessibility elements. What’s going to happen here? In this case, the user wouldn’t be able to navigate to the childView. Instead, VoiceOver would only allow them to get to the parentView. For blind users relying on gesture navigation, the child element simply does not exist. For partially-sighted users, there would be a button on the screen that they wouldn’t be able to interact with.

This is obviously NOT what you want to happen in this case! However, it is possible to use this setback to your advantage. Let’s say you have a simple contact card. When you lay out a bunch of contact cards in a row AND you allow for interaction with each element of the contact card, things start to get confusing. How do you know which field belongs to what contact? Here’s an example of this very scenario:
Name, Phone
Herman, 000
Henrietta, 111
If you’re navigating this list of contacts as a swipe gesture navigator, then how do you know whose phone number is 000? Is it Herman’s or Henrietta’s? Will you remember that it’s listed as name, then phone number? What if this list is 500 contacts long? What if there is more information than just name and phone number? As you can see, things can get complicated pretty fast. Grouping the information in a contact card would really clear things up! In this case, we can take advantage of a parent element to collect all of the information from any contained accessibility elements via the parents accessibility label. You can see a simplified implementation of this wrapper view below:
[code language=”objc”]
@implementation DQWrapperView
– (NSString*) accessibilityLabel {
NSMutableString* accessibilityLabel = [NSMutableString new];
for (UIView* view in self.subviews) {
if (view.accessibilityLabel)
[accessibilityLabel appendFormat:@" %@", view.accessibilityLabel];
}
}
@end
[/code]
You’ll notice how I’ve collected the accessibility label of the contained views and appended it into one view. By overriding the accessibility label property, you don’t have to maintain multiple strings. Instead, you just collect the information each time the view is accessed. This allows you to handle any dynamic changes to the contents automatically.
DISCLAIMER: If you’re using this approach, just be sure to consider how many active elements you’re wrapping. The approach won’t be valid if you’re wrapping more than one element. If you are wrapping more than one element, you’ll need to use alternative data association methods.
Now that you have a much clearer understanding of how to work with iOS accessibility elements, you’re good to go. Stay tuned for our next installment, and be sure to visit Deque University for more information. You can also see a more extensive example of the implementation of a wrapper view class by checking out our open source accessibility framework project.