Let’s learn about Deque’s WorldSpace Attest for Android product. If you’re not familiar with Attest, it’s an automated testing toolkit for HTML, iOS and Android that enables developers to test for accessibility. With Attest for Android, native mobile developers can run automated accessibility tests on their code as part of their regular integration and unit testing processes. I’d like to spend our time here reviewing the workflow that an Accessibility Subject Matter Expert would go through to utilize this product. In other words, you don’t have access to the source code or development team to follow along. The alternative workflow for this product would be completely automated analysis with integrated unit test while utilizing our analysis library.
Follow along here in my recorded walk-through if you’d like:
Getting Started
Before we begin, download and install the WorldSpace Attest app from the Google Play Store. In my demo, I’m casting real mobile device onto my laptop via Vysor.
Attest for Android Demo Application
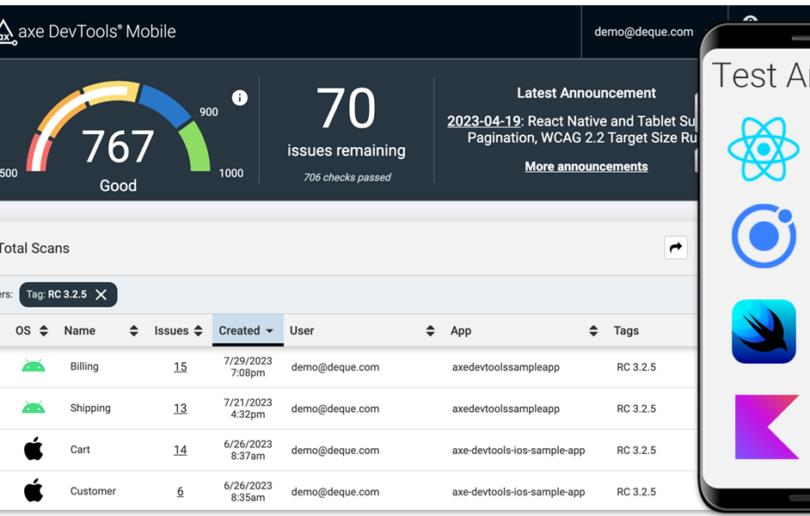
The first thing that you’ll open when you get that WorldSpace Attest Package is you’ll see that there’s an application that is attached to the download. This application just serves as demos for the product. For example, if you have a question about what any of our rules are doing or the behaviors that users experience when you see those violations, you can come here and say “hey, is this behavior that is happening here the same as the behavior that they’re checking for in the application?”
Setting up Android for Attest
The next step in this process is to go to your settings. Go to accessibility and find the Attest for Android Service. This is listed in the same area as other accessibility services like TalkBack. Turn on the service and notice our test will start capturing everything that’s displayed on your screen. This is designed to capture color contrast analysis. If you don’t care about color contrast analysis you can ignore this. Let’s review the control labels example. If you focus on what’s happening in this desktop application here you’ll notice you can click scan for devices. The mobile device will pop up and you should click ok. Now, your desktop client and app are now synced together.
Example: Control Labels Accessibility Violation Workflow
On this device and my desktop client when you click analyze it’s going to analyze whatever’s on the screen of this device, right? So, if you click analyze you’ll see a rule control labels violation. Controls that don’t have their own accessible name must be associated with a visible label. You’ll see some other detailed information to help you figure out why this problem is happening and to identify the control that this is happening on. Notice there is this identifier, but very frequently it is necessary to add our own identifier. The view ID is going to be the resource name or if there is a view ID resource name associated with the view. Class name is obviously the class. There are all the things that are gonna be meaningful for different audiences. The class name is most meaningful to a developer.
This is the information that you will want to report back to your developers. For example, “the switch with this text at this position is having this issue.” You can even highlight it and capture this as a screenshot to report that back to your developer. Right at the bottom, you’ll notice the app says Android dot switch elements have saved information and no name and must have an associated visible label.
How To Use Attest for Android to Analyze On Any Third Party Application
It is important to note that you do not have to do the analysis on our demo application. This works for any third party app and this is why Attest for Android is such a powerful product. For example, you can analyze the Talkback controls. Attest for Android can run an analysis on this system level view. So, if you analyze Talkback’s controls you’ll notice these accessibility violations.
Notice, highlighting is still on so you can highlight these views as you go over them. Here you may view this control labels view, you’ll find that this off switch is not associated with the fact that it’s turning Talk Back off. Furthermore, the color contrast analysis doesn’t pass. Finally, the image view fails, this image has no information associated with it. One of the fixes for this might be to add a content description, but another might just be to hide this view from the assistive technology layer, similar to doing presentational in ARIA on a website. In summary, this is how Subject Matter Experts can utilize Attest for Android in their accessibility testing process. If you have any questions about the product or you would like to see Attest for Android in action, contact us for a demo!